 Ascend to ZERO
Stages
Regions
4
Unique Gimmicks
Yes
Bosses
Per Stage
Stage Overview
| Stage | Difficulty | Tier | Key Feature |
|---|---|---|---|
| Stage 1 | Beginner | B | Starting zone, Terrae Motus boss |
| Stage 2 | Intermediate | A | Machine earth, contamination zones |
| Stage 3 | Advanced | S | Escalating contamination, optimized builds needed |
| Stage 4 | Endgame | S | Extreme time pressure, final boss |
Explore our comprehensive stages coverage for Ascend to ZERO.
Details
Stage 1
Starting zone with Terrae Motus
Enemy Level
Low — manageable for early builds
Key Feature
Learn core mechanics and farm initial XP
Boss
Terrae Motus at stage end
Stage 2
Machine-ravaged post-human earth
Enemy Level
Medium — new attack patterns
Key Feature
Time contamination introduced in zones
Boss
Turret bosses scaling to level 60000
Stage 3
Escalating contamination and stronger enemies
Enemy Level
High — requires optimized builds
Key Feature
Escalating contamination and lethal combos
Boss
Unconfirmed — check after launch
Stage 4
Final region with extreme time pressure
Enemy Level
Extreme — deadly combinations
Key Feature
Extreme time pressure and final boss
Boss
Final boss encounter
Core Mechanics
Each of the 4 regions features unique enemy types, stage gimmicks, and environmental hazards. Stage 1 is the starting zone with Terrae Motus. Stage 2 introduces machine-ravaged earth with time contamination. Stages 3-4 escalate difficulty with stronger enemies and extreme time pressure. Boss encounters cap each stage.
Advantages
Each of the 4 regions features unique enemy types, gimmicks, and environmental hazards creating varied gameplay. The stage structure provides clear progression milestones and boss encounters at each region end.
Challenges
Later stages require heavily optimized builds — pushing too early results in timer depletion. Time contamination in Stage 2+ punishes unprepared players. Some gimmicks require specific chip builds to handle efficiently.
FAQ
How many stages are in Ascend to ZERO?+
There are 4 regions (stages), each featuring unique enemy types, gimmicks, and environmental hazards, with a boss encounter at the end.
What is Stage 2 like?+
Stage 2 is a machine-ravaged post-human earth with new monster attack patterns and time contamination in some zones.
When should I move to Stage 3?+
Move when your builds are consistently optimized and you can handle escalating contamination. Stage 3 requires efficient builds.
Quick Tips
Stage 1 is ideal for learning — spend your first runs here before progressing
Stage 2 introduces time contamination — learn to identify and avoid hazard zones
Later stages require optimized builds — do not push too early
Boss encounters are at the end of each stage — plan your timer accordingly
⭐ Featured
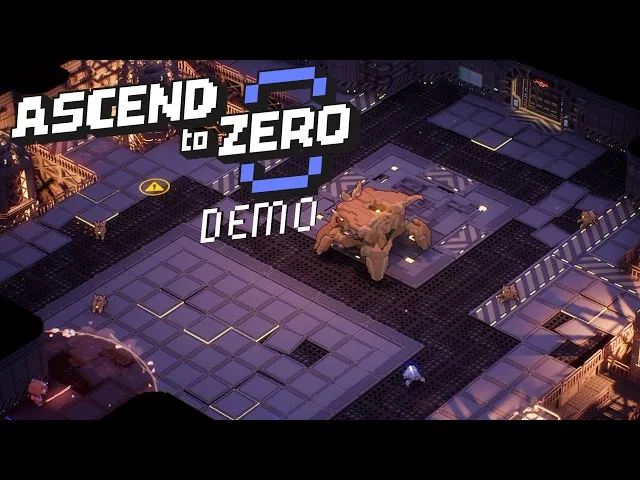
Stage 1 Walkthrough — Ascend to ZERO Starting Zone, Enemy Types & Terrae Motus Strategy
Complete Stage 1 walkthrough for Ascend to ZERO. Starting zone layout, enemy types, farming spots, room-by-room strategy, and boss preparation.

Stage 2 Walkthrough — Ascend to ZERO Machine Earth, New Enemies & Time Contamination
Complete Stage 2 walkthrough for Ascend to ZERO. Machine-ravaged earth layout, new monster patterns, time contamination zones, and turret boss strategy.
Stage 3 Walkthrough — Ascend to ZERO Advanced Regions, Contamination & Build Requirements
Complete Stage 3 walkthrough for Ascend to ZERO. Escalating contamination, stronger enemy types, build requirements, and efficient room routing.
All Articles

Stage 4 Walkthrough — Ascend to ZERO Final Region, Extreme Pressure & Endgame Strategy
Complete Stage 4 walkthrough for Ascend to ZERO. Final region with extreme time pressure, deadly enemy combinations, and endgame push strategies.
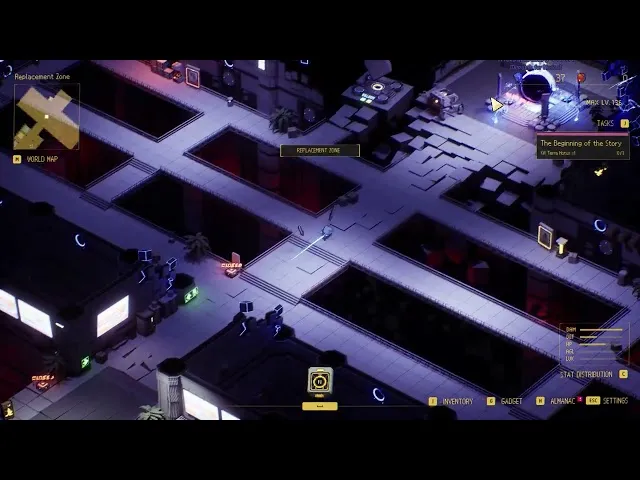
Stage 2 Exit Guide — Ascend to ZERO How to Find the Exit & Progress to Stage 3
Having trouble finding the Stage 2 exit in Ascend to ZERO? Community-reported confusion about Stage 2 exits explained with navigation tips.